
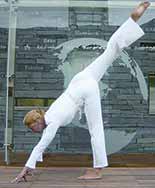


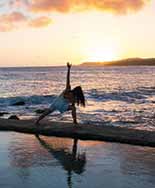


This posture is invaluable for developing strength and flexibility in the trunk and thighs. It mobilises the pelvic girdle, extends the spine and tones the abdominal, upper back and shoulder muscles.

When you feel stuck in life and finding it hard to let go of old habits, this posture is excellent for releasing that stuck energy from the sides of the torso. The result is that we can perceive a wider picture in our lives.
On an energetic and emotional level this posture activates the earth energies in the base chakra, encouraging it to raise upward, enhancing our artistic ability, creativity and powers of expression.
Contra-indications
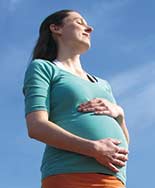
As this posture creates a strong stimulation to the lower two chakras, it is not recommended during menstruation, pregnancy and for the first three months after giving birth. If you have back, knee or hip problems please exercise caution in performing and holding this posture.
If you have weakness in the lower back or abdominal muscles, you may find it easier to by bring your feet even closer together and bend your knee when moving into the posture.
Body preparations
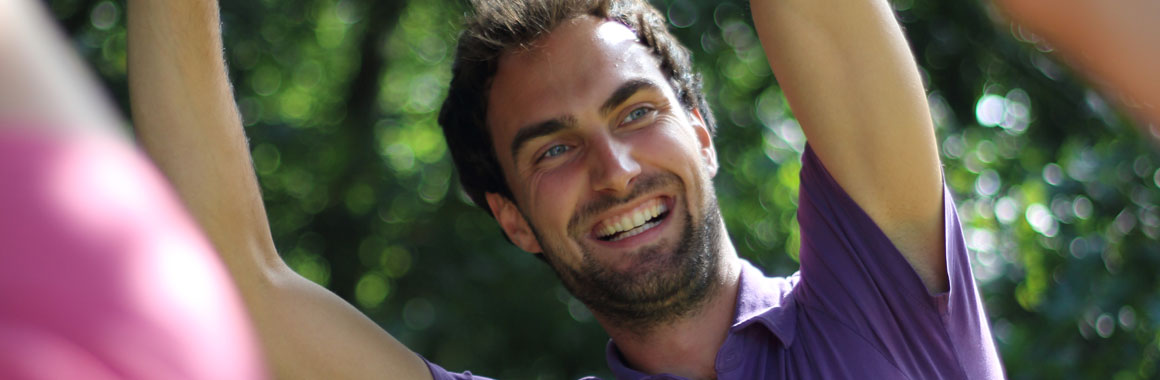
The triangle is quite physically demanding and therefore please ensure that you have warmed up the body with some activations - dancing will do it! It would also be beneficial to stretch the pectoral and adductor muscles.
How to do the posture?
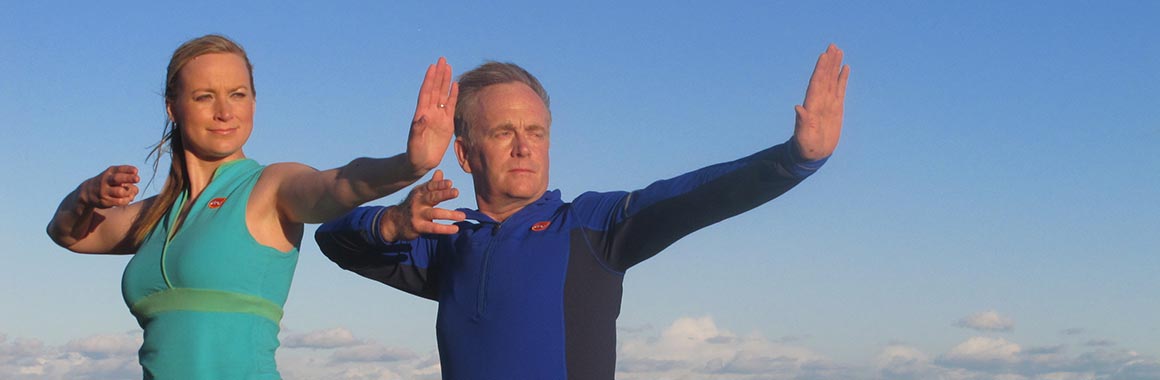
|
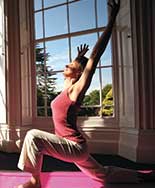
Step 1 Stand in the mountain posture. Allow your joints to be soft and relaxed and feel your connection with the earth. Step 2 Adopt the standard triangle base as follows: separate your legs by two to three feet. Turn the right foot 45 degrees to the right by pivoting on the right heel. Now pivot on the ball of the right foot to bring the right heel in line with the toes. You should find that your right heel is in line with the medial arch of the left foot. Push the left heel slightly to the left to allow you to anchor the left foot to the floor when you move into the side bend. Step 3 Pause and check that when you bend your right knee that the shin is vertical. If its not - adjust your stance to bring your feet closer together - or if the legs are already too narrow, adjust the width between your feet. Step 4 Refresh your core stability. Breath in and raise your arms sideways to shoulder height, palms facing forward. As you breathe out, reach towards the right extending from the base of your spine and then down towards the floor. Keep your body in one plane—the torso does not come forwards. NB. Keeping in one plane will restrict your movement considerably but it is more useful to bend just a little to the side with correct alignment than to bend a lot more, but incorrectly. Step 5 Once you feel perfectly balanced, become aware of your arms. Rest the back of your right hand against the right calf or ankle. Stretch your left arm upwards and feel as if you are lifting from the armpit. Allow your left shoulder blade to relax towards the right shoulder blade. Elongate your neck and turn your head in order to look up towards your left hand. Step 6 To come out of the posture, reverse this sequence: Step 7 Rest in a relaxed forward bend position for a few moments before repeating on the other side. |